Reactive Messaging with RabbitMQ and WildFly
In the third article of this series, we will learn how to configure RabbitMQ as broker for a Reactive Application running on WildFly. We will show which are the changes we need to apply both on Rabbit MQ and on the Reactive Application to make them work together smoothly.
Pre-requisites:
- Configure WildFly to use Reactive Messaging extensions. See this article for more details: Reactive Messaging with AMQP and WildFly
- Basic Knowledge of Rabbit MQ and Docker. You can check this article for a quick introduction: RabbitMQ with Docker: A Comprehensive Guide
Configuring Rabbit MQ to run AMQP 1.0
RabbitMQ, out of the box, supports the AMQP 0-9-1 Protocol. This is quite different from AMQP 1.0 although it is possible to install a plugin to have AMQP 1.0 support. The simplest way to do that, is via Docker-compose adding as volume the enabled_plugins with the list of plugins.
Firstly, edit the following docker-compose.yml:
version: '3.8'

services:
  rabbit:
    image: rabbitmq:3.12-management-alpine
    labels:
      - smallrye-dev-service-amqp=amqp
    ports:
      # AMQP protocol port
      - '5672:5672'
      # HTTP management UI
      - '15672:15672'
    environment:
      - RABBITMQ_DEFAULT_USER=guest
      - RABBITMQ_DEFAULT_PASS=guest
    volumes:
      - './enabled_plugins:/etc/rabbitmq/enabled_plugins:ro'
Then, add the enabled_plugins file in the same directory with this content:
[rabbitmq_management,rabbitmq_amqp1_0].This will add the rabbitmq_management and rabbitmq_amqp1_0 plugins to the stack of Rabbit MQ Plugins.
Finally, start the Container of RabbitMQ with:
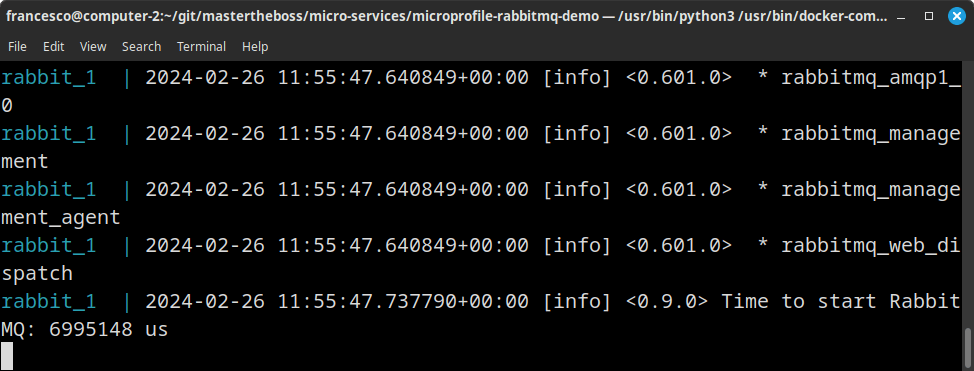
docker-compose upMake sure that RabbitMQ is up and running before moving to the next step:
Configuring the Reactive Application
There are no code changes in our Reactive application except for the configuration. Modify the microprofile-config.properties as follows:
amqp-host=localhost
amqp-port=5672
amqp-username=guest
amqp-password=guest

mp.messaging.outgoing.to-amq.connector=smallrye-amqp
mp.messaging.outgoing.to-amq.address=queueDemo
mp.messaging.outgoing.to-amq.durable=false

mp.messaging.incoming.from-amq.connector=smallrye-amqp
mp.messaging.incoming.from-amq.address=queueDemo
mp.messaging.incoming.from-amq.durable=false

mp.messaging.outgoing.to-amq.use-anonymous-sender=false
As you can see, the main changes we neeed to apply are:
- Set Messaging Channels “durable” attribute to false
- Set the destination address (anonymous sender are not supported) to queueDemo
Then, deploy the updated application on WildFLy:
mvn install wildfly:deployYou should be able to see on the Server Logs messages which are sent and consumed:
13:03:28,746 INFO  [stdout] (pool-15-thread-1) Got Weather : WeatherData[city=New York, temperature=16]
13:03:28,746 INFO  [stdout] (pool-15-thread-1) Sent WeatherData to Remote System : WeatherData[city=New York, temperature=16]
13:03:28,749 INFO  [stdout] (vert.x-eventloop-thread-0) Consumed WeatherData from Remote System: {"city":"New York","temperature":16}
13:03:30,747 INFO  [stdout] (pool-15-thread-1) Got Weather : WeatherData[city=Sydney, temperature=15]
13:03:32,748 INFO  [stdout] (pool-15-thread-1) Got Weather : WeatherData[city=Sydney, temperature=16]
13:03:34,749 INFO  [stdout] (pool-15-thread-1) Got Weather : WeatherData[city=Paris, temperature=12]
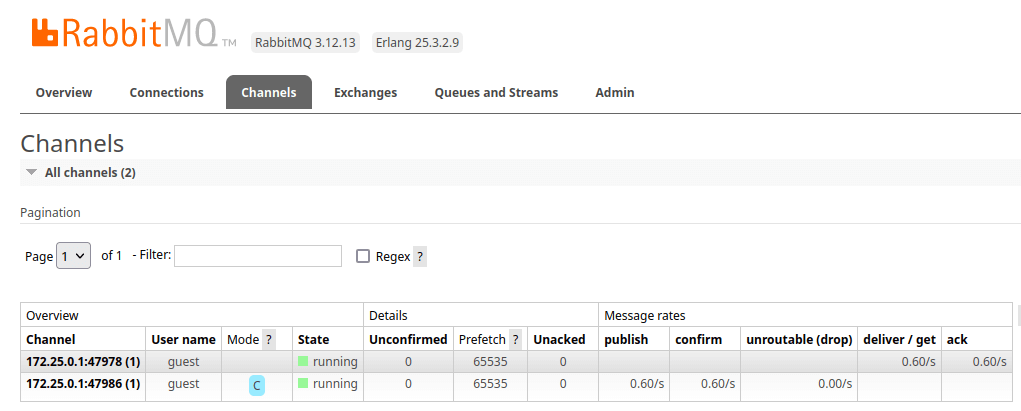
You can also access RabbitMQ Console at localhost: 15672 to check statistics about the Topic:
Conclusion
This article was a walkthough on how to configure WildFly 31 to send Reactive Messages to RabbitMQ. We showed how to install AMQP 1.0 plugin on rabbitMQ and the changes in our application to target the broker for messaging.
Source code: https://github.com/fmarchioni/mastertheboss/tree/master/micro-services/microprofile-rabbitmq-demo
Recommended Articles
Deploy Reactive Applications Using WildFly 31 and Artemis MQ
Learn how to deploy a reactive application using WildFly 31 with an AMQP Broker like Artemis MQ. #WildFly #ReactiveJava #ArtemisMQ
Design and Deploy Messaging Reactive Application with WildFly and Apache Kafka
Learn how to design, configure, and deploy a MicroProfile Reactive Messaging application using WildFly and Apache Kafka. #MicroProfileReactive #WildFly #ApacheKafka
Build and Deploy Microprofile Applications on Wildfly with MicroProfile API Support
Learn how to create and deploy Microprofile applications on Wildfly with the latest version of Microprofile API support, combining Jakarta EE and MicroProfile APIs.
Micrometer Tutorial: Configuring and Using in WildFly and Quarkus Applications
Learn how to configure and use Micrometer API for Jakarta EE applications with WildFly or Quarkus. Includes configuration steps and dependencies.